
How to Create a Sponsorship Listing on Spondise
2 minutes and 38 sec
Share this article
Spondise Team
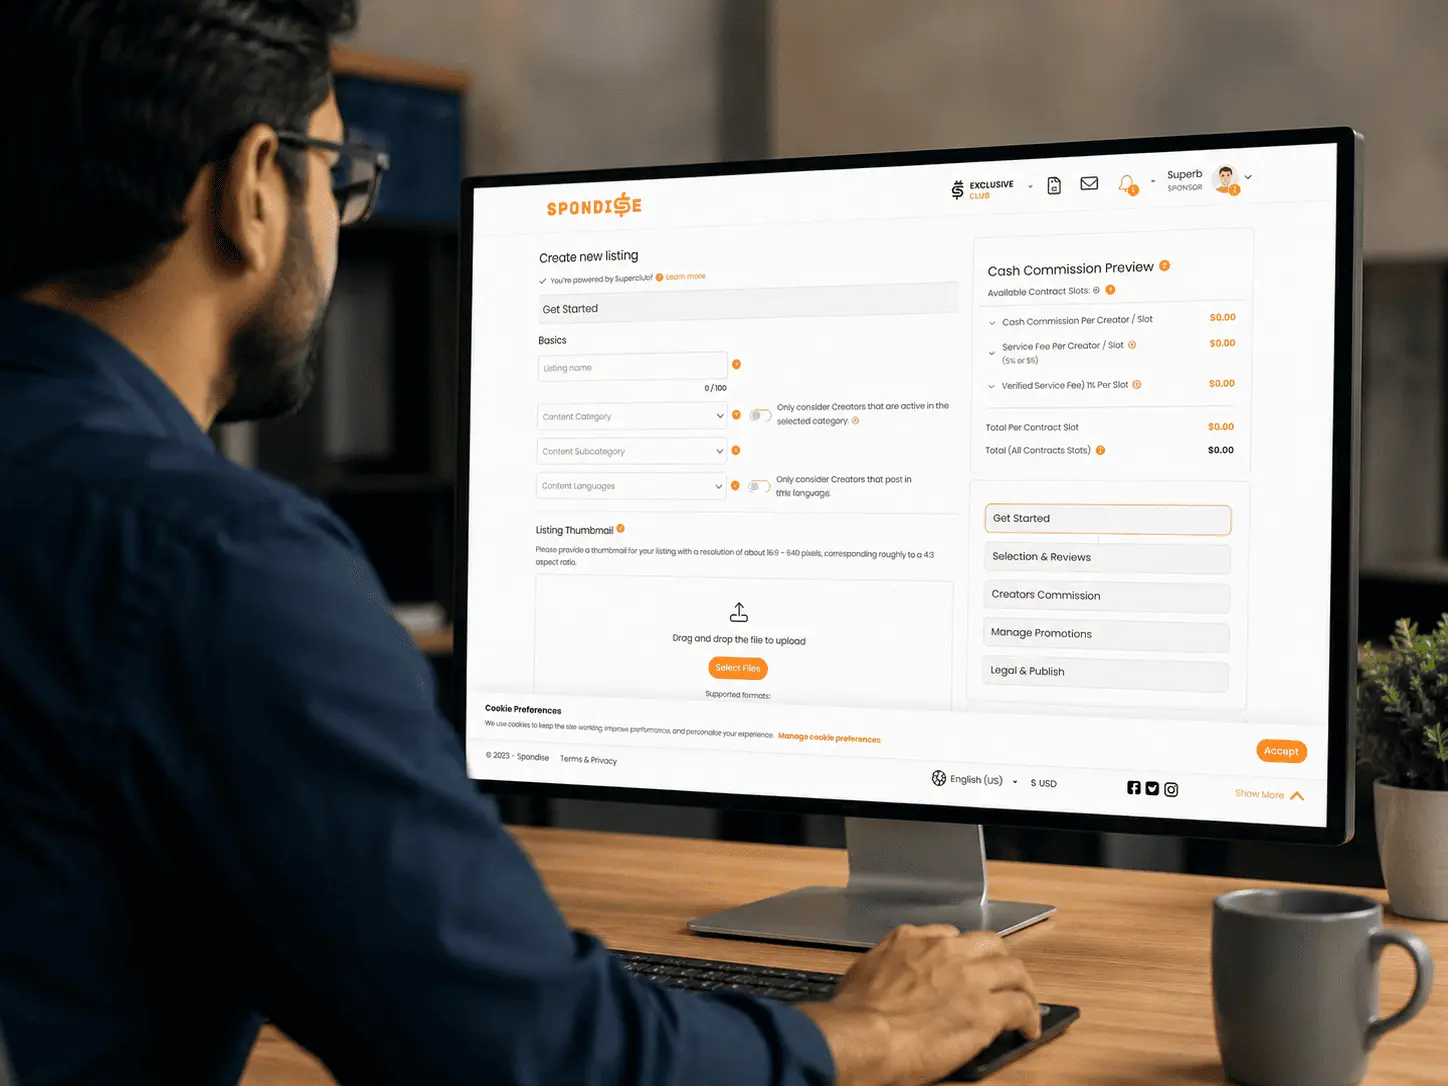
How to Create a Sponsorship Listing on Spondise
A Step-by-Step Guide for Sponsors
Creating a sponsorship listing on Spondise is a structured process designed to reduce misunderstandings, protect both parties, and ensure predictable outcomes. This guide walks you through every step—from defining your listing basics to publishing and accepting creators.
Step 1: Define the Basics of Your Listing
This step determines who can see and apply to your listing. The fields here are mandatory and directly affect creator eligibility.
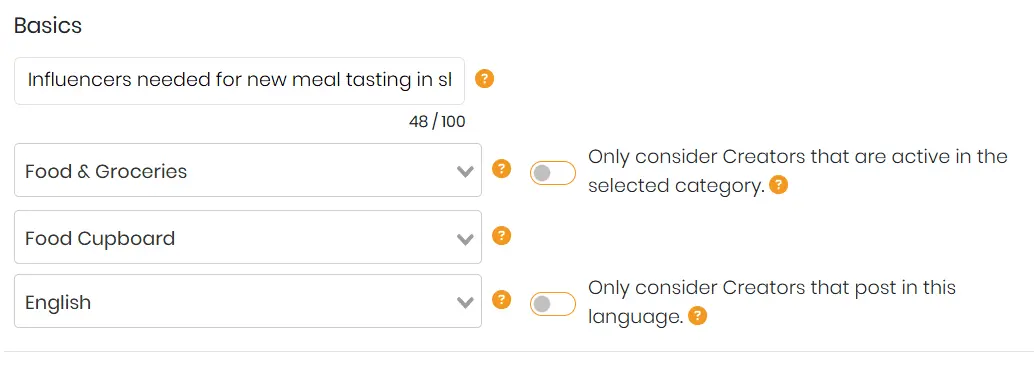
- Listing Title – Required. Limited to approximately 80 characters.
- Category & Subcategory – Required. Can be enforced to block mismatched creators.
- Language – Required. Enforcement is optional.
- Listing Thumbnail – Required. Used in marketplace listings.
- Description – Explain your brand, offer, and expectations clearly.
You can also restrict eligibility by location. When enabled, this acts as a hard filter and blocks inquiries from creators outside the selected regions.
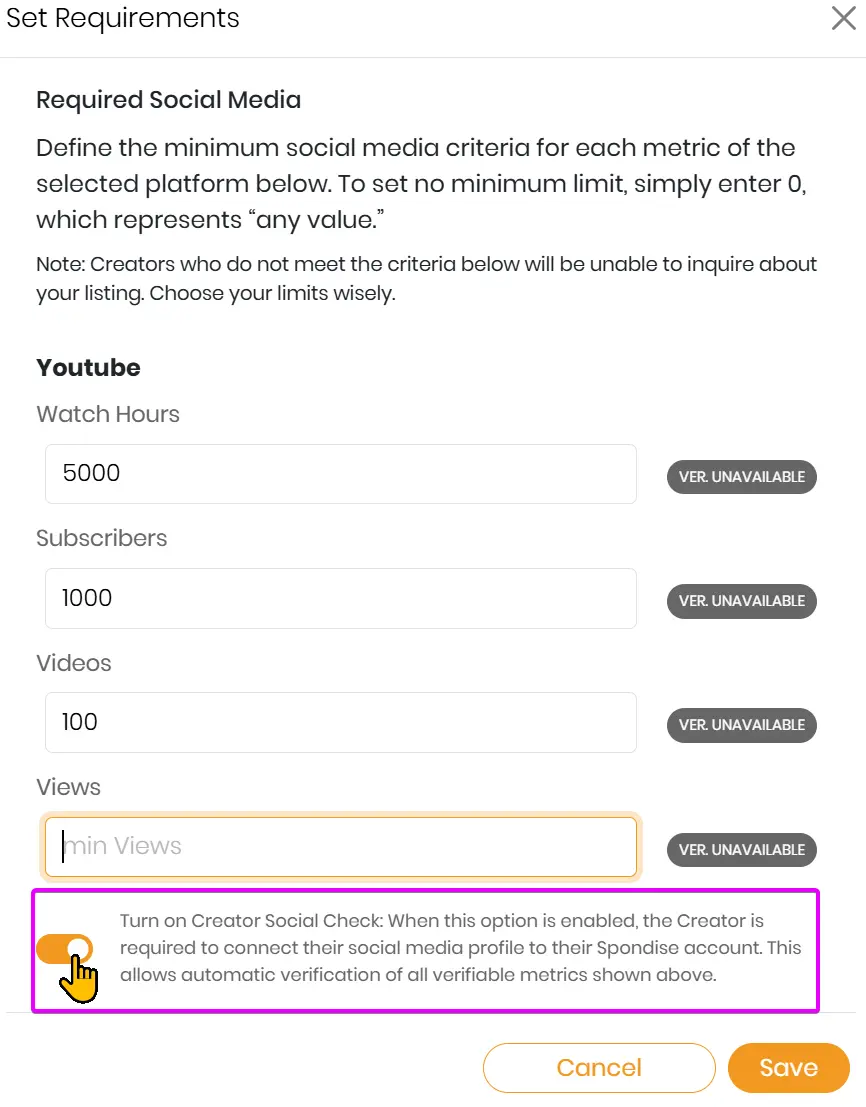
Required Social Media settings let you choose between: Any Social Media, Specific Platforms with Requirements, or User Generated Content (no posting required).
If platform verification is enabled (for example, YouTube), only creators with verified accounts can apply.
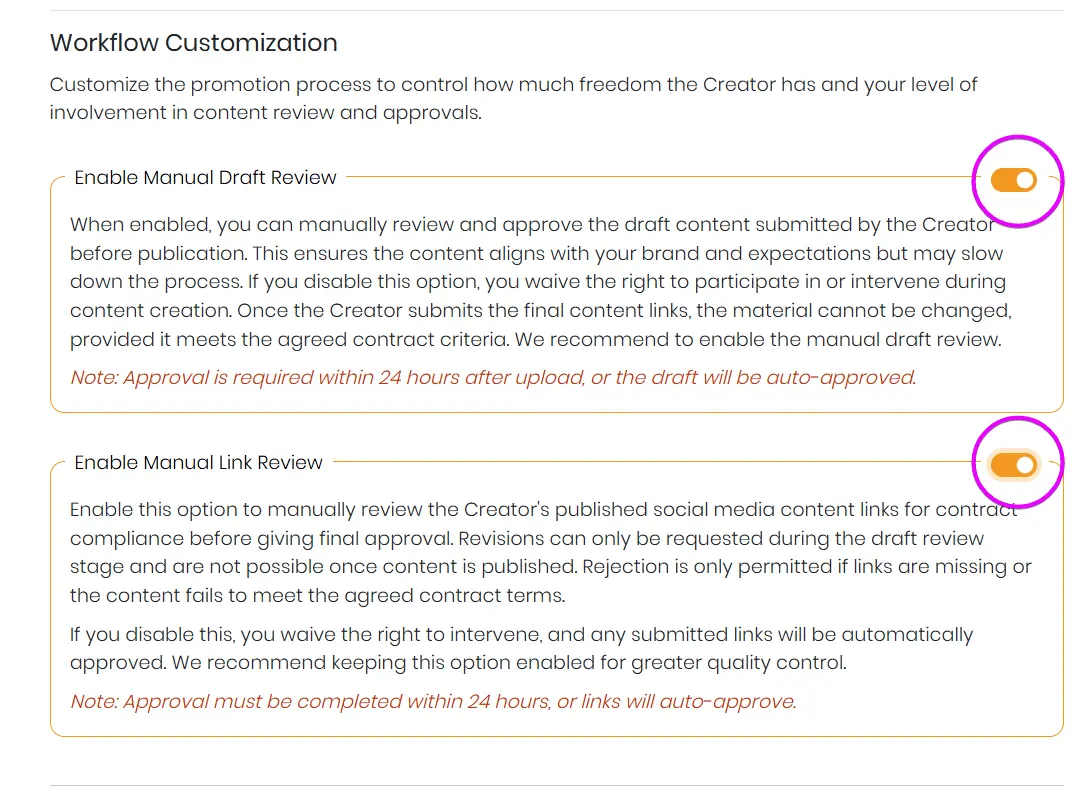
Step 2: Selection & Review Workflow
Spondise uses manual creator selection by default. Every inquiry must be accepted or declined by you.
- Unanswered inquiries auto-decline after 72 hours.
- Commission is transferred only after you accept a creator.
You can optionally enable: Manual Draft Review and Manual Link Review. Each provides a 24-hour review window before auto-approval.
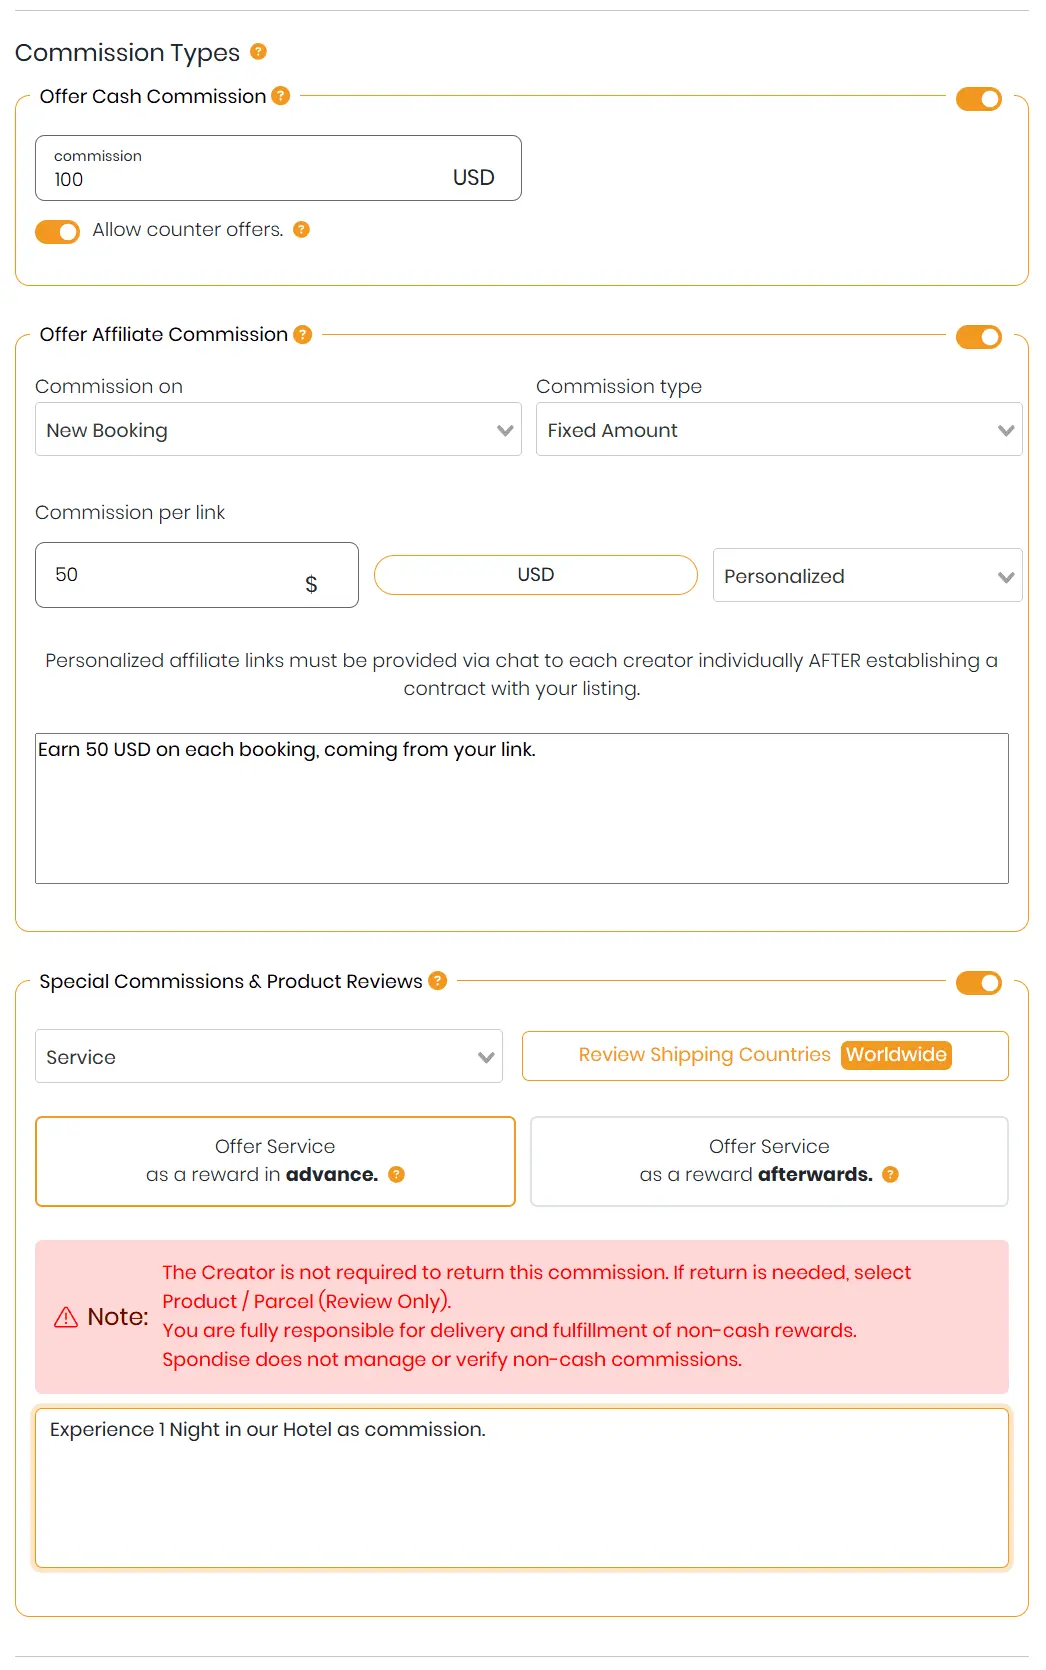
Step 3: Set Creator Commission
Commissions are defined per creator slot. You can offer multiple slots in a single listing.
- Cash Commission (per creator)
- Affiliate Commission (optional, post-acceptance)
Cash and affiliate commissions can be combined. Creators may submit counter offers if enabled.
Platform fees apply only to cash commissions. Non-cash rewards are managed directly by the sponsor.
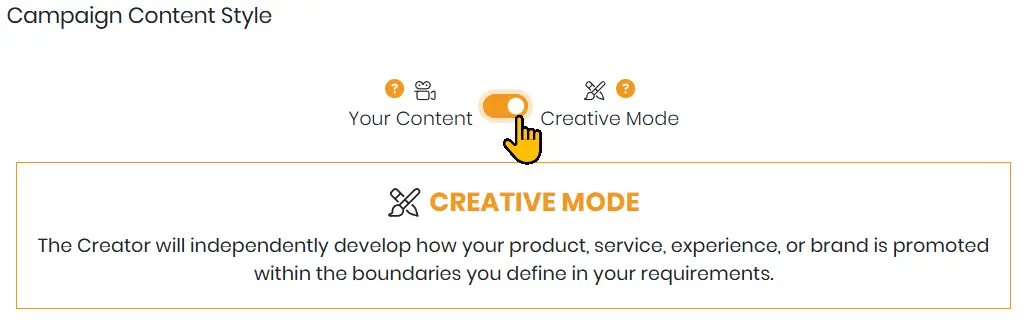
Step 4: Manage Promotions & Deliverables
Choose how content is created. This decision is locked once a creator is accepted.
- Creative Mode – Creator develops content within your defined structure.
- Sponsor Provided Content – You supply assets or voiceover requirements.
At least one content sequence is required. Multiple sequences can be added using the same mode.
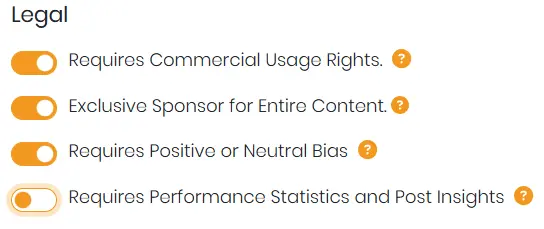
Step 5: Legal Confirmation & Publishing
Before publishing, you must confirm legal terms and usage rights. Once submitted, your listing becomes visible to eligible creators.
Listings can only be edited if there are no pending inquiries or active workflows.
What Happens After Publishing
Creators can now submit inquiries. You review, accept, or decline them. Once accepted, the workflow proceeds according to your settings.
Payment protection and delivery enforcement are handled through Spondise’s structured workflow.
Share this article
Subscribe for the latest methods to improve revenue!
I am a